How to Tell Where the Leak Is Actually Coming From
Classic car oil leak diagnosis has gotten complicated with all the guesswork flying around. As someone who spent three weekends tearing apart a 1972 Chevelle that seemed to weep oil from every surface simultaneously, I learned everything there is to know about tracking these things down. Today, I will share it all with you.
The best method is older than most of the cars we work on: the clean-and-trace technique. Degrease the entire engine first. A spray bottle of engine degreaser — something like Goof Off or a citrus-based formula — and an afternoon with a stiff brush strips away the accumulated grime masking fresh leaks. You’re creating a blank slate. Let it dry fully before doing anything else.
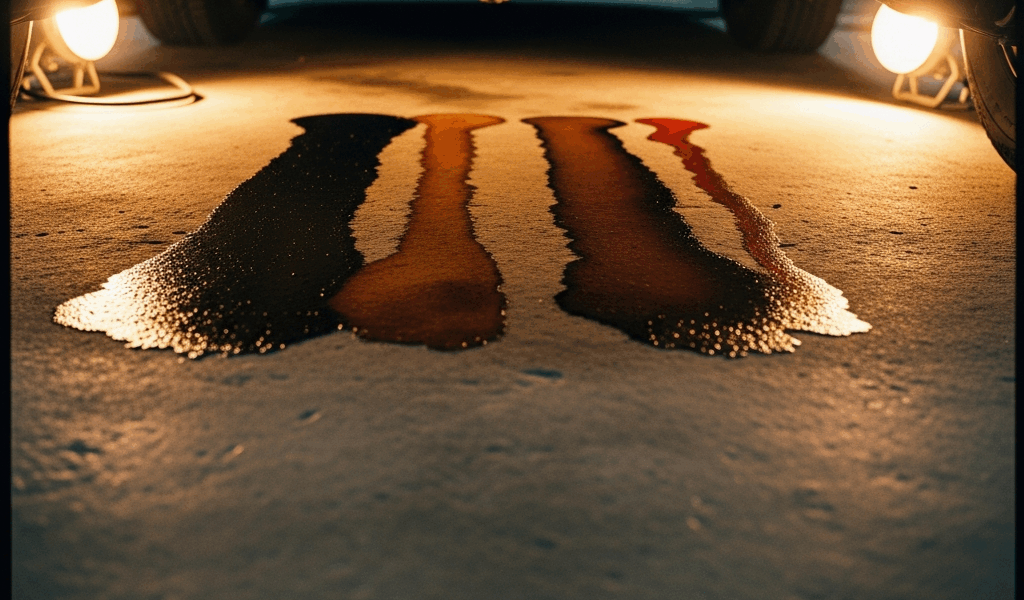
Then run the engine at operating temperature for 10 to 15 minutes. Let it idle. Kill it. Wait five minutes. Look for fresh, wet spots. New oil glistens. Old stains don’t. That’s really the whole trick.
Here’s the part that catches everyone. Oil doesn’t fall straight down. Gravity and airflow conspire against your diagnosis — a valve cover gasket leak on the driver’s side might run backward along the cylinder head, drip down the opposite side of the block, and puddle under the passenger fender. I once spent two hours replacing a perfectly good oil pan gasket because I trusted the wet spot on the ground. Don’t make my mistake.
Get a flashlight. Drop your head level with the engine. Trace the wet streak backward toward its source. The actual leak point is where oil first appears wet to the touch, not where it pools at the bottom.
Still can’t pin it down? Grab UV dye. Most auto parts stores carry it for around $12 to $20 a bottle — that same bottle will last you months. Add it per the instructions, run the engine, then sweep a UV light across everything. The fluorescent trail leads straight back to the source. It works fast. There’s genuinely no shame in using it.
The Most Common Oil Leak Sources on Classic Cars
Not all leaks are equal. Some are five-minute Saturday fixes. Others mean pulling the engine entirely. Knowing which situation you’re facing changes everything.
Valve Cover Gaskets — The Usual Suspect
Valve cover leaks show up as wet streaks running down the side of the cylinder head and block, usually nearest the spark plugs. You’ll see staining right along the valve cover rail. On a classic V8 — small-block Chevy, Ford 289, anything in that family — this is the leak you’ll find nine times out of ten. The cork or rubber gasket has simply given up after fifty years. It happens. That’s what makes chasing these leaks endearing to us classic car people.
Rear Main Seal — The Expensive One
A rear main seal leak is unmistakable. Oil pools beneath the back of the engine, soaks the bell housing, works its way into the transmission. On a classic with a non-removable transmission bolted solid to the frame, this repair is a genuine undertaking. You’re looking at heavy lifting, considerable patience, and probably a cleared weekend — or two.
Oil Pan Gasket — Underestimated Risk
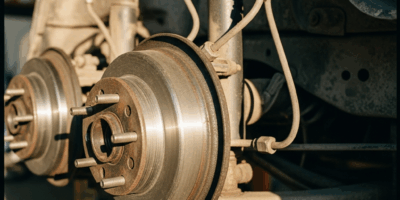
Oil pan leaks drip directly below the pan itself. The gasket material — usually cork on anything built before 1980 — hardens and shrinks over decades until it simply stops sealing. Small-block Chevys and inline sixes are notorious for this one. The pan sits low on the frame, so you’ll notice the drips quickly. That’s the one upside.
Timing Cover Gasket — Insidious and Hidden
Timing cover gaskets leak slowly and quietly, which is exactly why people miss them. You’ll notice oil staining the front of the block near the crankshaft pulley. Belts and pulleys partially hide the source, so the oil level drops noticeably before anyone investigates. Flathead Ford engines are particularly susceptible here. I’m apparently someone who ignored mine for one full season before catching it — and that approach never works out well.
Pushrod Tube Seals — Air-Cooled Engine Specialty
Air-cooled engines — classic Porsches, early VWs, that whole family — use tube-style seals instead of conventional gaskets. Leaks appear as wet staining along the sides of the pushrod tubes themselves. It’s a failure point that owners of liquid-cooled engines will never encounter. Unique problem, straightforward fix once you know what you’re looking at.
Which Leaks You Can Fix Yourself and Which You Cannot
Probably should have opened with this section, honestly. A realistic assessment saves more frustration than any repair tip ever could.
Valve cover gaskets are weekend jobs. Two hours, maximum. You’ll need a torque wrench, a fresh set of gaskets, and maybe a gasket scraper. Skill required: minimal. Confidence required: modest. Total parts cost: under $30.
Oil pan gaskets are harder — but completely doable for anyone comfortable working underneath a car. You might need to drop the pan slightly or support the engine on a jack stand. Budget three to five hours. A pan wrench, a reliable floor jack, and two jack stands cover your tool needs.
Timing cover gaskets sit in similar territory. You’re reaching over and around other components the whole time. Four to six hours for most classic V8s. Difficult isn’t the same as impossible.
Rear main seals are a different conversation entirely. On a classic with a solid-mounted transmission, you’re looking at engine removal — full stop. That’s $1,500 to $3,500 in labor at a shop, depending on where you live. DIY this one only if you’ve pulled an engine before and already own the equipment. Otherwise, write the check. Seriously.
Pushrod tube seals fall somewhere between valve covers and rear main seals depending on the specific engine. Know your application before committing an afternoon to it.
Step-by-Step Fix for the Most Common Culprit — Valve Cover Gaskets
So, without further ado, let’s dive in.
Prepare
Remove any hoses, wires, or brackets clipped to the valve cover before touching a single bolt. Take photos first — your phone’s camera has better detail than you think. Label any disconnected hoses with strips of masking tape. You will absolutely forget where the unlabeled ones went. That’s just how it works.
Remove the Old Gasket
Unbolt the valve cover. Most classics run six to eight bolts, often a mix of 3/8-inch and 7/16-inch heads. Don’t force anything that resists. A shot of penetrating oil — PB Blaster works, so does Kroil — and a ten-minute wait beats a snapped bolt head every single time. A broken bolt left in the cover ruins the entire job.
Scrape away the old gasket material carefully. Use a plastic scraper — not metal. Metal gouges aluminum and iron surfaces, and those gouges leak forever. This step is genuinely tedious. It’s also completely non-negotiable.
Choose Your Gasket Material
Three options: cork, rubber, silicone. Cork is what the car left the factory wearing. Period-correct, cheap — usually $8 to $15 for a set. It hardens over time, which is precisely why you’re doing this job right now. Rubber lasts longer. Silicone lasts longest but needs cure time before you start the engine and feels less traditional. Pick based on your philosophy and what you’re willing to spend.
Install the New Gasket
Clean the mating surface on the valve cover. Wipe it completely dry. Press the new gasket into the groove — it should sit flush with no bunching, no gaps anywhere along the rail.
Now the critical mistake everyone makes: overtightening. A small-block Chevy valve cover calls for 10 to 15 foot-pounds. That’s genuinely light. Owners crank them to 30, crack the cover rail, and turn a $12 repair into a parts-hunting expedition. Use your torque wrench. Tighten in a cross pattern — opposite corners working inward — to distribute pressure evenly across the gasket.
Ford 289 and 427 covers want similar specs. An inline six might go up to 20 foot-pounds. Check your specific engine manual — most are available as PDFs online for $5 to $10, and they’re worth every cent.
Reconnect and Test
Reattach all hoses and wires. Double-check everything against your photos. Start the engine, let it reach operating temperature, and look immediately for seeping oil at the cover edge. If it seeps, stop the engine, let it cool, and revisit your bolt pattern. You likely missed a torque spec or left one bolt slightly loose.
What Happens If You Ignore an Oil Leak on a Classic Car
A small leak isn’t always urgent — that part is true. A teaspoon per week and a quart per week are genuinely different situations. But ignoring either one entirely is how good engines die.
Oil on a hot exhaust manifold ignites. Not always dramatically. Sometimes quietly, with a thin smell of burning and a small flame you don’t notice until it isn’t small anymore. Classic engine compartments run hotter and tighter than modern ones. Oil pooling on cast-iron headers atomizes, vaporizes, and burns. Fire risk is real — not theoretical.
Oil migrating downward also contaminates brake components. Contaminated brake fluid eventually fails. A soft pedal on a classic car running single-circuit drum brakes is a genuinely dangerous situation, not an inconvenience.
Slow oil loss leads to low oil pressure. Bearings starve. Metal contacts metal. An engine that ticks quietly through one driving season seizes during the next. Engine rebuilds run $2,000 to $5,000 depending on the block. A valve cover gasket set costs $20. That math isn’t complicated.
Your classic isn’t a daily driver you replace in three years. It’s irreplaceable in its specific form — specific paint code, specific options, specific history. Ignoring a small leak is the automotive version of ignoring a hairline crack in a foundation wall. It spreads. It compounds. It becomes expensive.
Fix it now. Before show season opens. Before you forget about it over winter. Before it becomes the story about the Chevelle that sat for two years because the engine seized over a $15 gasket.


Stay in the loop
Get the latest classic car craze updates delivered to your inbox.